Dental clinics and aesthetic practices
Useful for fast visual consultation workflows where a patient wants to preview whitening-oriented smile changes before discussing services or pricing.

DentaVision AR is a self-hosted dental smile simulation module built for public shortcode rendering, waiting-room QR access, editable clinic pricing, and before / after whitening preview workflows. It combines camera capture, live face landmark detection, whitening shade controls, retake flow, and a clinic-facing price list in one isolated module that is fast, visual, and ready for real patient-facing use.
A cinematic look at how DentaVision AR reimagines the patient experience inside the Noesia Matrix OS.
Useful for fast visual consultation workflows where a patient wants to preview whitening-oriented smile changes before discussing services or pricing.
Useful when clinics want a public page, QR handoff, and patient self-access experience without relying on external simulation services.
Useful for teams that want to expose a structured clinical price list alongside the simulation experience and keep that list editable from the admin side.
See exactly how DentaVision AR works. Experience the next level of dental diagnostics in seconds.
> EXECUTE_DEMO _A powerful diagnostic tool, now exclusively available in the Pro tier for your practice.
GET IT NOW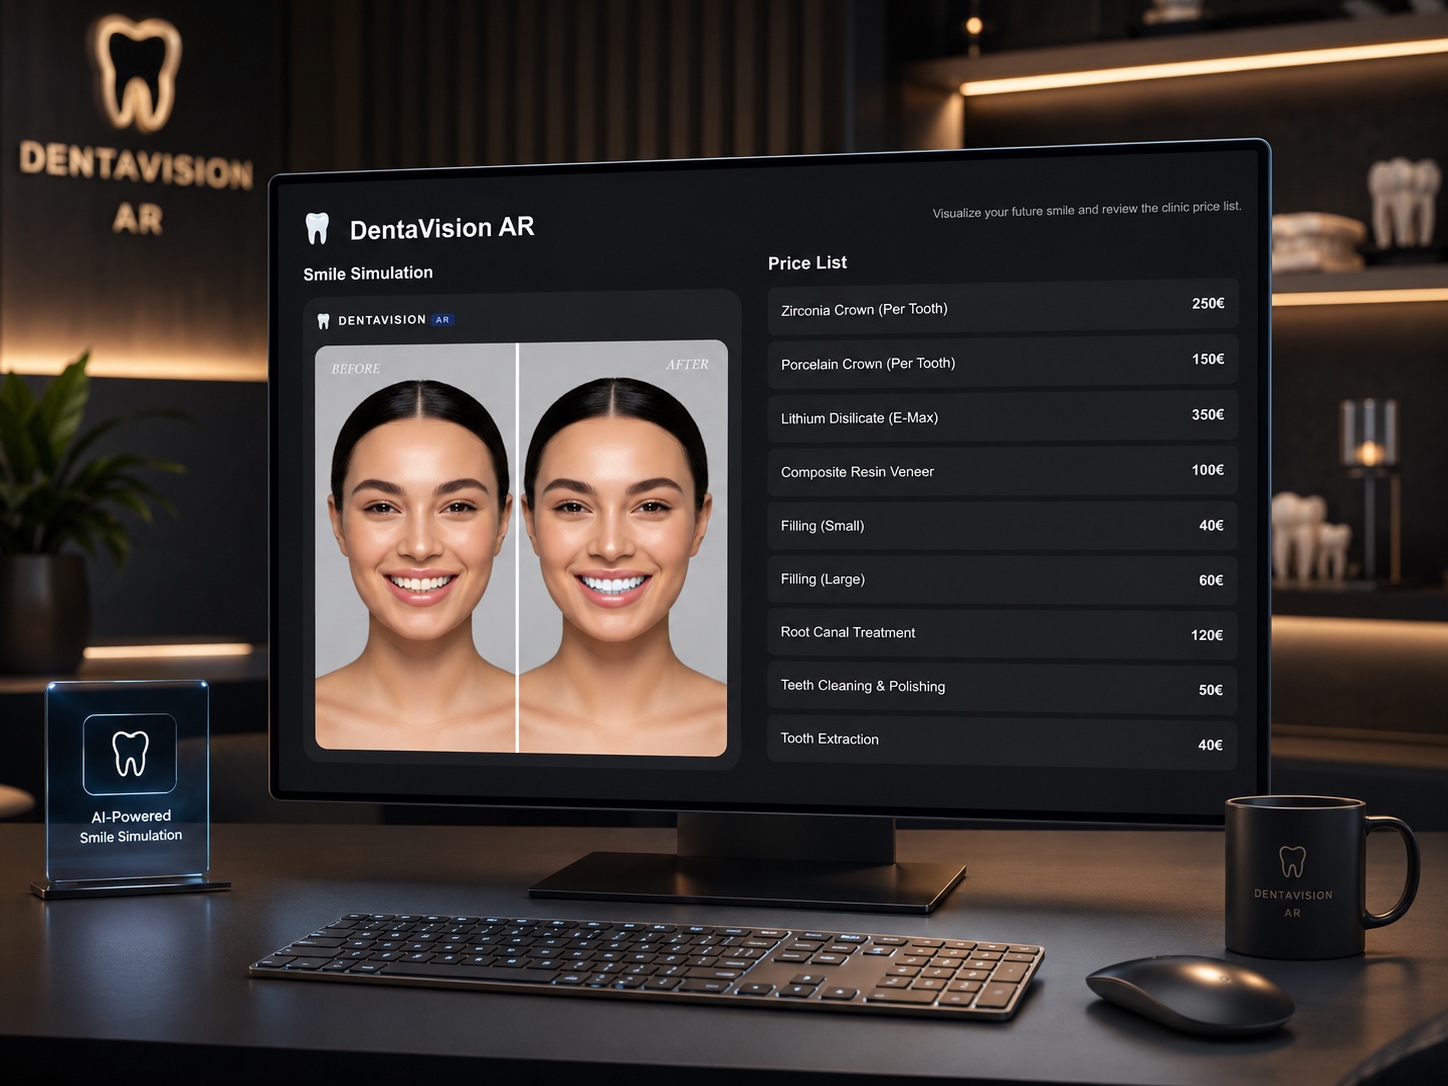
Admin path: open the Noesia Smart Waiter admin shell and select DentaVision AR from the module navigation.
Tier: this module belongs to the Pro layer.
Public path: the clinic can publish the simulation using the module shortcode and expose that page through the configured public URL and QR flow.
Start by confirming DentaVision AR is active in the module status area and save the module settings before testing the public view.
Configure the public page URL because that link is encoded into the QR preview for waiting-room or front-desk use.
Review standard services, adjust names and prices, enable or disable rows, and fill custom services where needed.
Camera access requires secure context behavior, so test the public page in the real clinic environment before relying on it with patients.
Load the DentaVision AR public page through shortcode rendering or by using the generated QR path and public URL.
The patient or operator grants camera access, aligns the face in the viewport, and uses the capture button to take the working frame.
After landmark detection, the module opens the editor view with whitening preview and before / after slider controls.
Use the shade buttons to change the whitening level, compare the result, and retake the photo if needed before discussing the price list.
The admin side contains module status, currency, shortcode info, public link, QR preview, and the editable clinical price list.
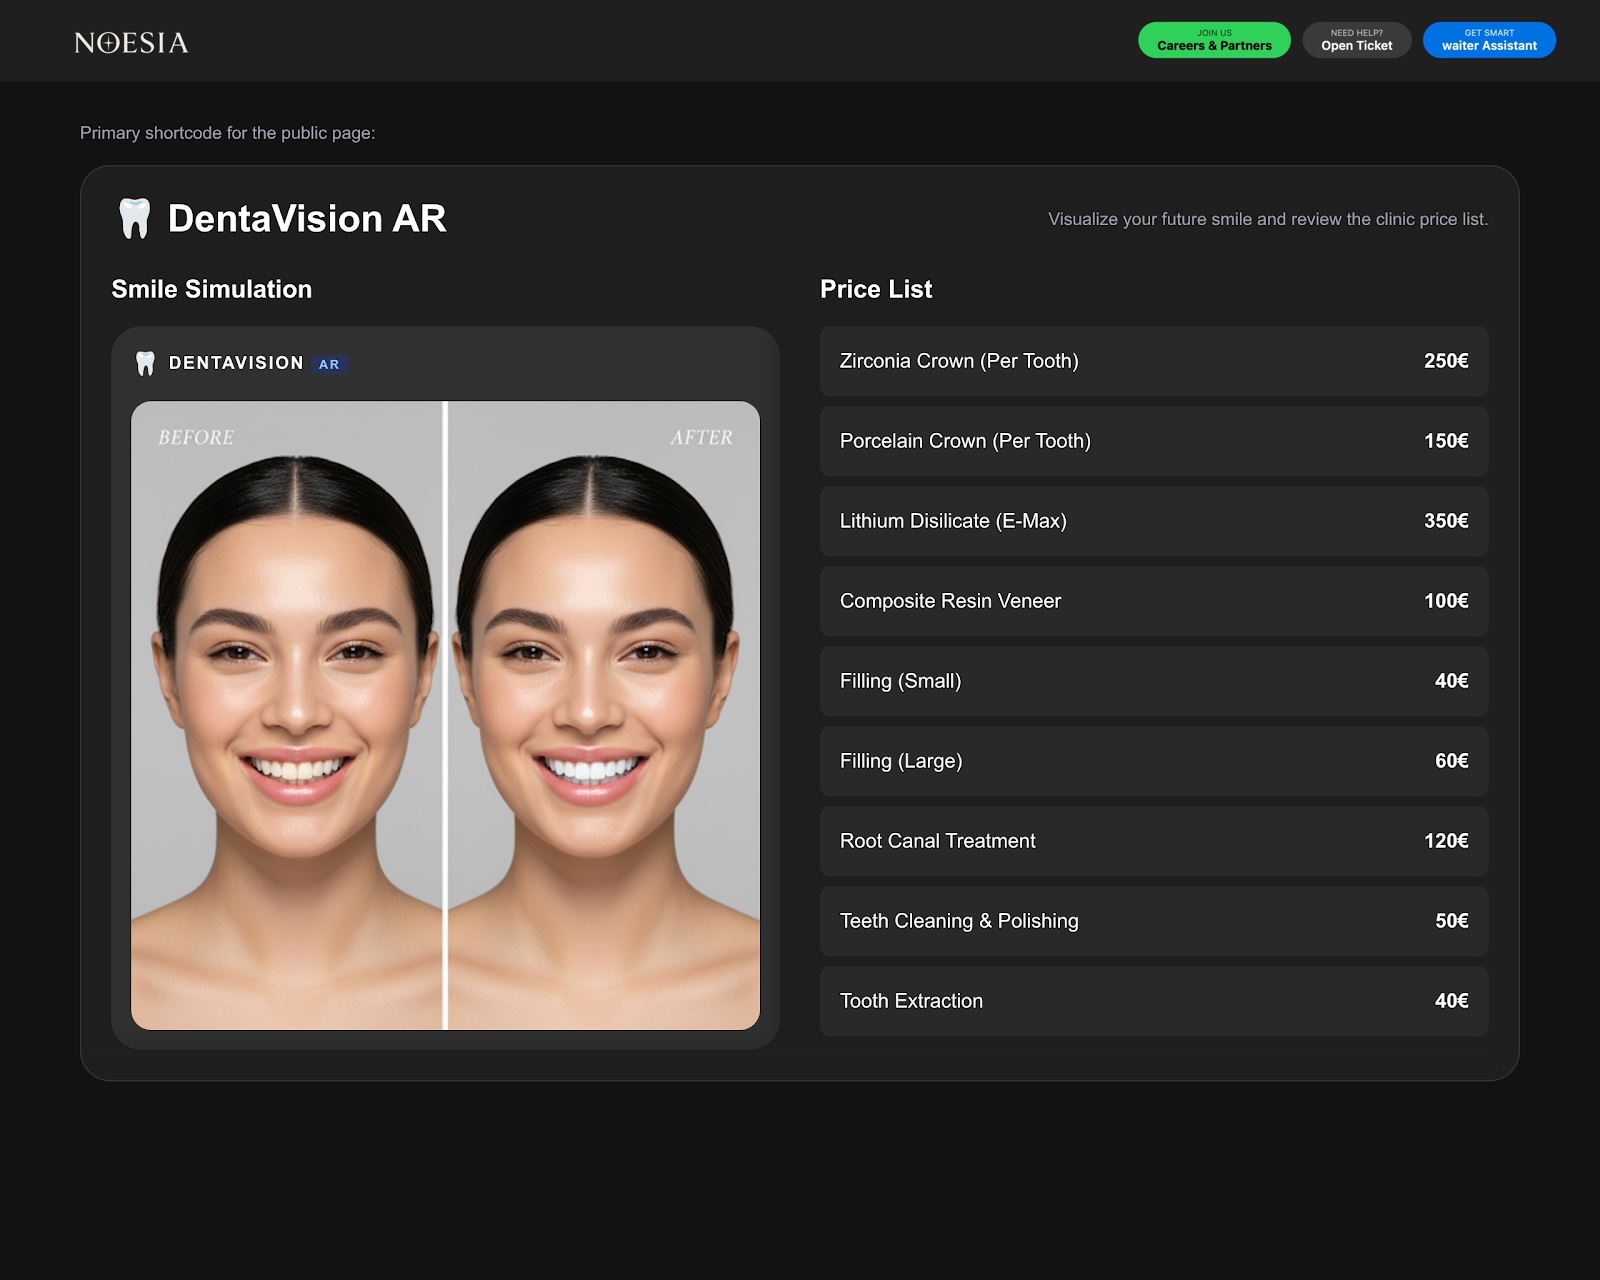
The public simulation begins in a protected camera view with instruction overlay and capture action.
After analysis, the editor reveals the before / after comparison slider and a side panel for whitening shade selection.
The second public box lists clinic services and prices so the visual preview and the commercial discussion stay connected.
Capture the patient image, apply the whitening simulation, and use the before / after slider during a live consultation discussion.
Print the QR code and let patients open the public page themselves before or after their appointment.
Use the public price list next to the simulation so the conversation can move naturally from visual result to treatment cost overview.
Retake the image when framing or capture quality is not good enough, then rerun the comparison flow without leaving the public page.
Issue: the public page does not show a working camera stream.
Why it happens: camera access can be blocked if the page is not running in a secure context or if permissions were denied.
What to do: test under HTTPS, re-check browser permissions, and confirm the device actually supports camera access.
Issue: the capture works but the module says no face was detected.
Why it happens: framing, lighting, pose, or landmark detection conditions may not be good enough.
What to do: improve lighting, keep the face centered, reduce extreme angles, and retake the photo.
Issue: the before / after handle feels broken or unresponsive.
Why it happens: a stale interaction state or a retake cycle may leave the old slider in place if the page did not reset cleanly.
What to do: retake again or reload the public page so the slider can rebuild from a clean state.
Issue: patients can access the page but no services appear.
Why it happens: service rows may be disabled, empty, or not saved correctly from the admin side.
What to do: review the clinical price list configuration, confirm rows are active, and save the module settings again.
Yes. DentaVision AR belongs to the Pro tier.
Yes. The module includes shortcode rendering and a configurable public page URL.
Yes. The public URL is encoded into the QR preview so clinics can use it in waiting-room or front-desk workflows.
Yes. The admin side includes standard services, custom service rows, and currency control.
Yes. The public editor includes a comparison slider between original and simulated result.
Yes. The editor includes a retake photo action so the workflow can restart cleanly.
Yes. The module is designed around self-hosted runtime assets and local integration inside the platform.
Camera access should be treated as a secure-context feature, so real deployment should be tested under HTTPS.
No. It is a working public simulation flow with editable clinic pricing and operational admin controls.
You can configure it from admin, but the patient-facing value comes from the shortcode-rendered public flow and QR handoff.
The Noesia Matrix is the shared architecture language and module fabric behind Noesia Smart Waiter. This module is not just a static page; it sits inside an isolate-first modular system designed for shell-driven navigation, clean section ownership, extensible widget zones, and future-safe expansion.
The architecture direction is intentionally high-control: modular ownership, isolated assets, lazy-ready behavior, clean settings flow, predictable prefixes, maintainable service boundaries, and enterprise-safe discipline around structure, security, and extensibility. Noesia transcends the definition of a standard WordPress plugin, operating as a robust platform built upon enterprise-grade Service-Oriented Design.
Here is how the core engine is designed to minimize bloat, maximize stability, and keep the experience consistently fast and responsive:
Event-Driven Inversion of Control (IoC): The platform follows an IoC pattern via a decoupled Event Bus. The central core acts as a “Logic-Less Host” (Blind / DUMMY Kernel). It does not tightly bind itself to module internals; modules announce their own presence, capabilities, and state through controlled registration flows.
The Micro-Frontend Paradigm (MFE): The UI is not a giant monolithic block. Each application behaves as an independent Micro-Frontend with its own dynamic assets, specialized logic, and UI contracts.
Strict Asset Isolation & Lazy-Loading: Resource usage stays disciplined. A module’s CSS, JavaScript, and data components are loaded only when the user reaches or interacts with that specific application surface.
Decoupled Registry Pattern: The dynamic discovery layer allows applications to be added or removed quickly without rewriting core logic. If one application encounters an issue, the architecture is designed to contain that impact instead of cascading it across the platform.
Enterprise-Grade Security & Stability: The platform is reinforced with strict input sanitization, dynamic registry routing, and defensive safety gates across the stack. The data layer and the user interface remain deliberately separated for maintainability and risk control.
The Result: A scalable hospitality and clinical operating system engineered to manage mission-critical workflows securely — from intimate cafés to high-traffic venues and sensitive medical environments.
When you open a ticket, include one clean screenshot, the exact visible error text or wrong result state, short reproduction steps, and whether the problem is constant or intermittent. That reduces back-and-forth and speeds up resolution.
Open SupportEnter the application layer: Explore the full Noesia Smart Waiter ecosystem and discover how each isolated module helps serve hospitality, operations, business workflows, and the wider mission to reimagine life through smarter software.
Scroll into the Matrix: The catalog below is the live gateway to the platform. Move through Free and Pro environments, open each documentation page, and step directly into the next application surface.